I recently purchased a Martha Stewart score pad. Kind of like the Scorepal. It has helped me do folds so much cleaner and crisp then just eyeballing it like I use to. lol And they never turned out right. After searching the web I found a fun tutorial on Splitcoaststampers with the help of Pinterest. It looks easy usually that means it is hard to make, well not so much as hard but time consuming. This box took me awhile to make. But the time was well worth it. I have a special friend whom isn't feeling well that I'm sure this will help put a smile on her face. :)
I found this cool magic fold Halloween card idea on youtube. But can't seem to find the link. :(
Whom ever came up with it thank you it was fun to make!
This year I made for my co-workers little chocolate treat holders. Each held one square and a tea bag. The original idea is actually from http://www.dawnsstampingthoughts.typepad.com/ she has some of the best ideas with video tutorials. I used a variety of paper including Graphic 45 (LOVE them!!!) stickers from Michael's along with scraps I already had. OH and Stampin Up set - Ghoulish Googlies Designer Kit my very good friend Jean gave me. LOVE that set as well!!! Each one is unique and different.
Another dear friend of mine is getting ready to be a 1st time grandma. Her daughter loves Tiffany Blue and lady bugs. So I went to Dawn's website (has a great tutorial)http://dawnsstampingthoughts.typepad.com/dawns_stamping_thoughts/2009/06/lady-bug-box-purse-video-.html and the little lady bugs worked great. I used Tim Holtz new 2 color paper. I embossed it, then sanded it so the blue color would show through. Baby sentiment was cut out using my Cricut.
I borrowed this idea from a card I found on Pinterest. Another great site for ideas.
Supplies: Martha Stewart butterfly punch, Cuttlebug embossing folder, Happy Birthday stamp from Stampin Up, and paper pearls.
Do you have one of those friends that stamps and every time she makes something it turns out more amazing than the last card she showed you? Well I do! And her name is Jean, she's awesome - such an inspiration to me! :) One day I was so frustrated, I stamped an image (the bee & flower) and couldn't go any further. So, Jean took it home and this BEAUTIFUL card was created. And now I can't bare to part with it. :)
Recently my family and I went on vacation. I have 3 four legged kids whom needed a sitter. So my mom aka grandma took care of my little Chihuahuas for a few days. To thank her I made a card with help from my youngest daughter to show our appreciation. Each Chihuahua was made to resemble our real little ones. LOL And yes the littlest has the biggest eyes just like in real life. :) Made with svgcuts files and one my friend Jean shared with me from -http://wecanbeaoriginal.com/blog/2011/04/free-svg-file-download-chihuahua/
Punches are so versatile. It always amazes me how they make me feel like a professional, and they are easy to use. So, convenient!!! Plus ,cute cards always come of them. I added these cute puffy eye stickers from Michael's. Doesn't the little owl look like he could just hop right out of the card. lol
A few more cards I made this summer. They were a mixture of a Cricut cartridges, punch pieces, paper scraps, rub-ons, and the faux silk technique. I enjoy a good challenge. My paper drawer was over flowing with left over scraps, and these beautiful cards were just waiting to be made from it. :)
Congrats card done with melted crayon - technique is Crayon Resist I think. Melt crayon on craft iron, spread on glossy cardstock then stamped Stampin Up cowboy image with black Staz-On.
Ah... summer time, let's relax and play.... with bubbles that is! This card was inspired by a friend. She demonstrated it and this is my version. You mix bubble solution with a few drops of any color of re-inker in a cup, mix, blow bubbles with a straw till they hit the top (like when we use to play with our milk as kids ;) then touch your paper to it and wala - instant bubble effect. Fun and creative!
Have you ever tried using sticker rub-ons for cards? If you think those are fun Martha Stewart came out with Fuzzy Felt ones! It is sticky on both sides. 1st you rub on the image then peel the front off and rub on one of the 4 color felt papers the kit comes with. I really love how these turned out. They feel so fuzzy and cute like you're really petting a baby deer. :)
Here is one of my first attempts at using the 12 x 12 sheets of duel color paper. On the top it's dark purple, run it through a Sizzix machine with embossing plate of choice, then gently sand it with sand paper. It gives you a beautiful texture effect. The butterfly is a 3 step Martha Stewart(EK Sucess) punch. And the off white pearls gives it that extra touch.
Ah... tis' spring break in my area. I should be stamping but I have so many ideas to try I just don't know where to start. :) First things first, I have some cards I made and haven't had time to share them with you. So here we go....
These little wagons were perfect for my Valentine's Day treat for the gals I work with. Each one holds a mini Kit Kat. I bought the svg file for these from: http://www.cleardollarstamps.com/proddetail.php?prod=CDSSMLittleRedWagonSVG-PDF I sized mine down just a bit and used the rectangle from the handle piece to make mini license plates on the back. Printed off each persons name cut and glued it to the plates for that personalized touch. Also, I wrapped the Kit Kats with Valentine style paper, along with a cut out heart from my Cricut and stamped greeting - wishing you the sweetest day ever! (Stamp from Stampin Up). The wheels have heart brads, and I made little tags to hang from the handle that say Happy Valentine's Day!
I was looking back through my projects and found this picture of a gift card I made using Button Buddies from Stampin Up. I borrowed this idea from a card I saw on Splitcoast Stampers website.
I used some ribbon pieces for his scarf, and rhinestones for his buttons.
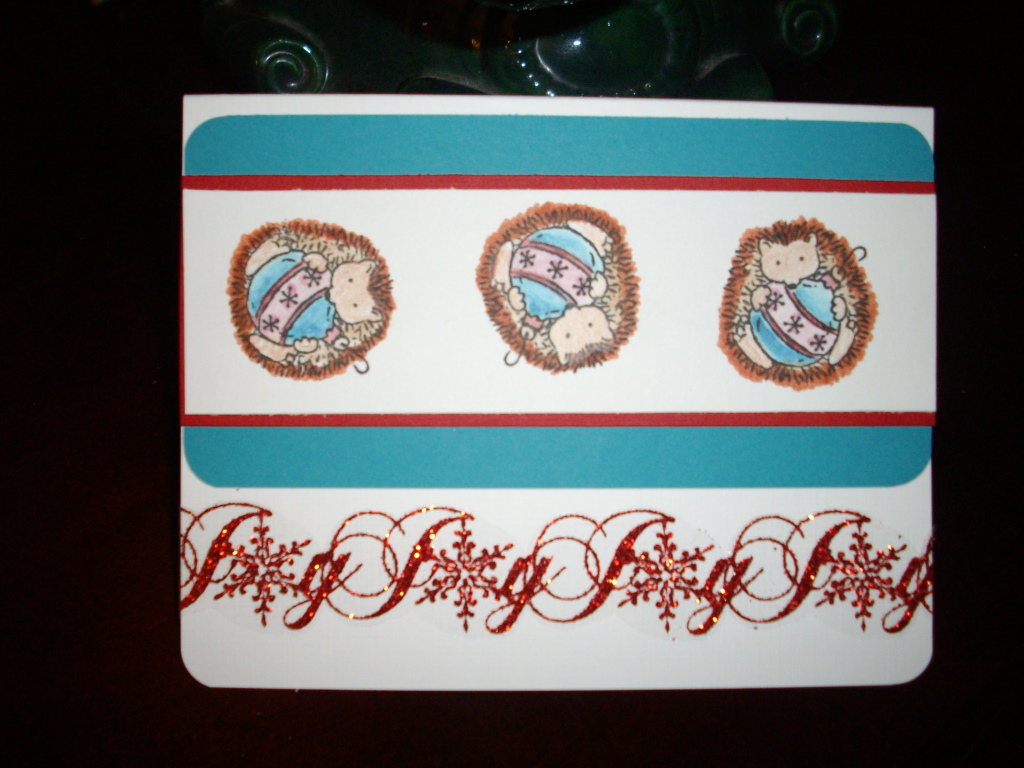
Before Christmas break we decided to try a 3D card. I was at a loss for ideas and a good friend of mine Jean came up with this wonderful idea. I know it's a little past the season but what a great idea to get a head start on Christmas 2012. It will be here before we know it. :)
She used what is called the Tea Bag fold. Simple and easy but elegant.
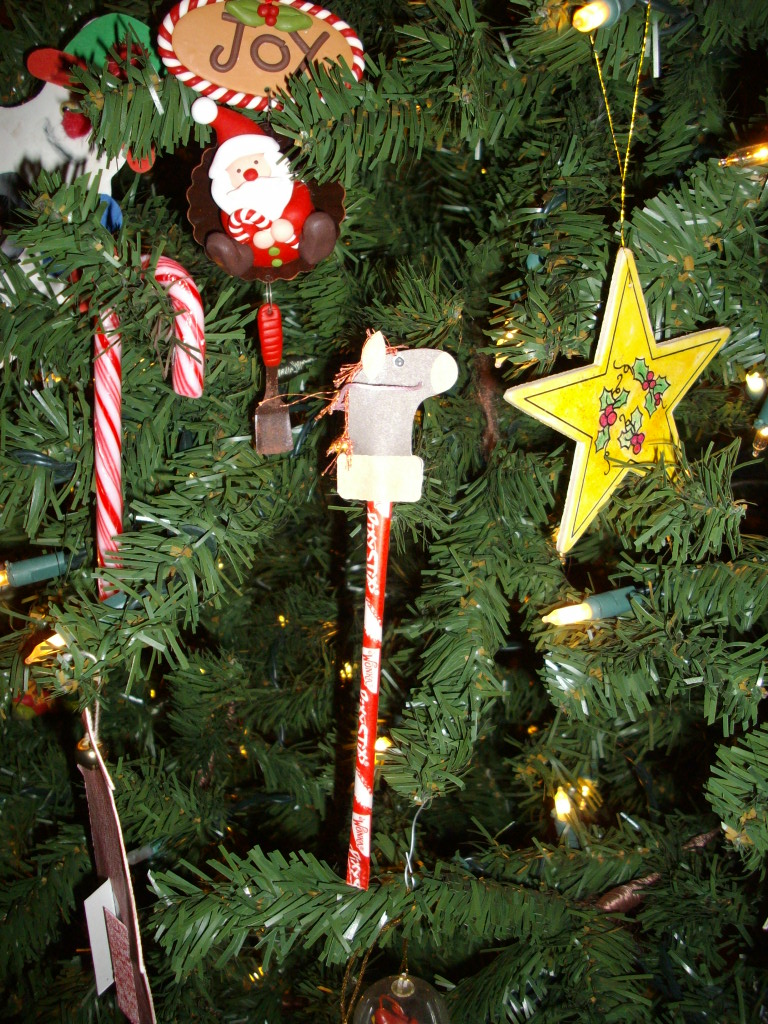
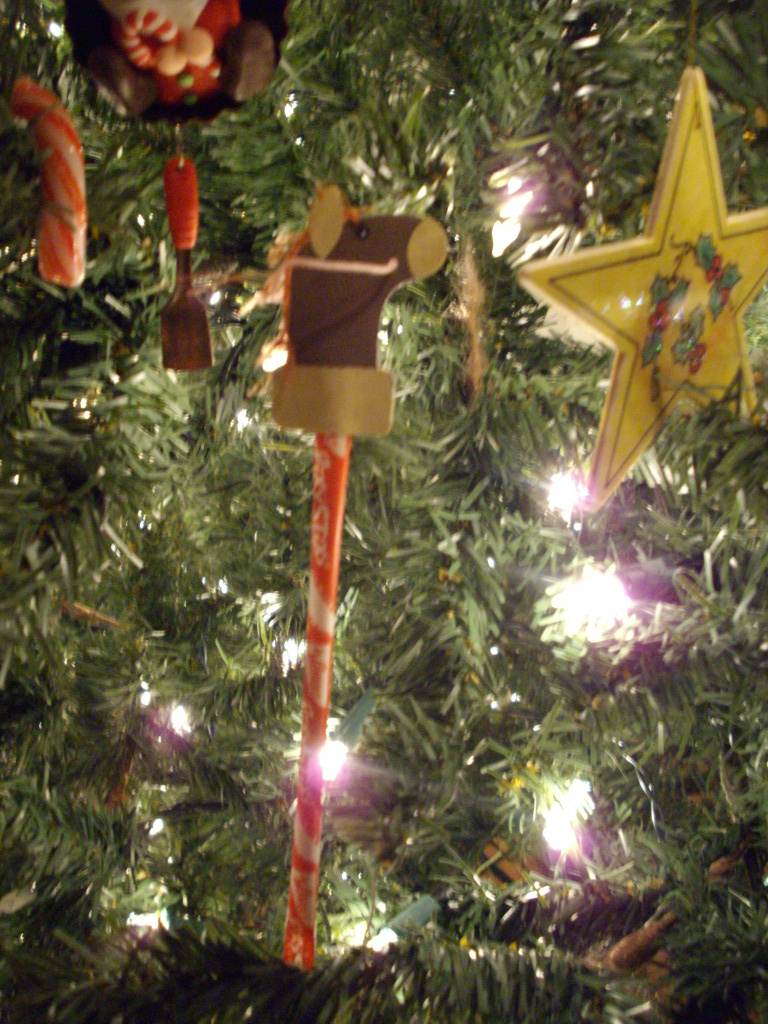
For our last Christmas class of the year the kids at school made these really easy & fun stick horses. I found the idea online. I heard if you use the Stampin Up stocking punch and turn it upside down you can make it look like a horse. So I couldn't wait to try this, I cheated though and found an svg file, used my SCAL program and wala ! Instant horse complete with a pixie stick to make it that much more sweeter! :)
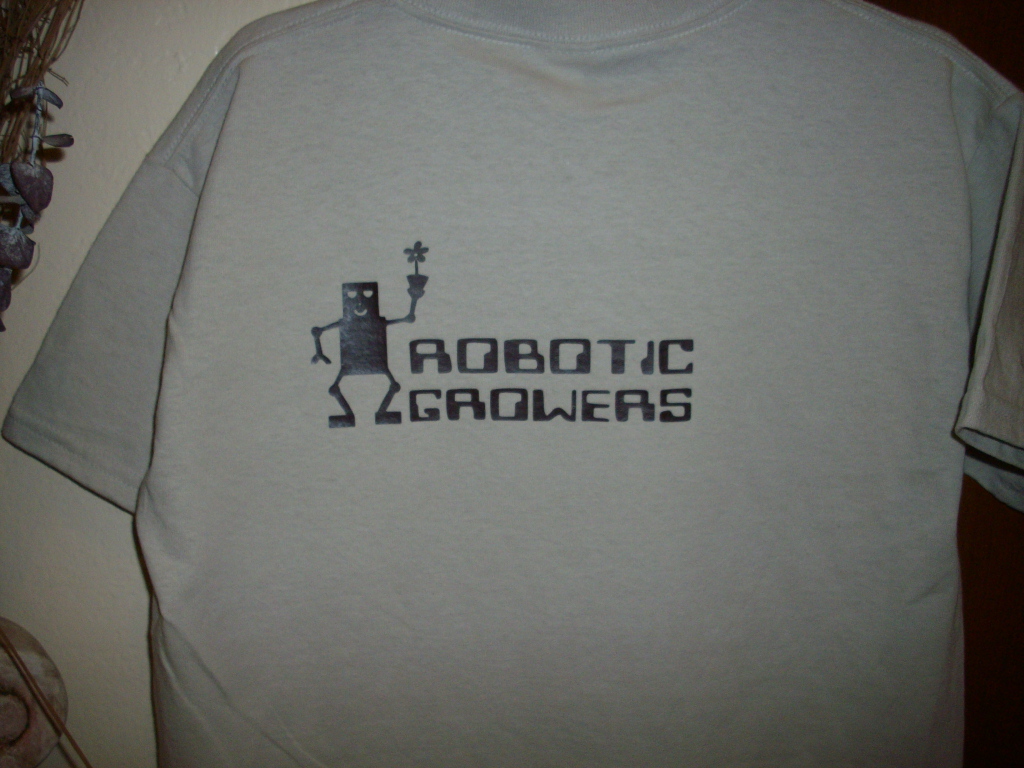
My daughter was recently in a Lego Robotics Competition. The teacher/coach wanted the kids to have shirts that represented them as a team and as a school. To save money we took our school shirts and added iron on vinyl. Yup! It's amazing the stuff they make these days. I ordered it from http://www.expressionsvinyl.com/ to cut on my 12x12 Cricut mat and it worked great! Loved their how to videos and it arrived fairly quick. I'm already thinking up other ideas for this new found product. :)
Back of the shirt made with the iron on vinyl. Robot and flower pot along with a robot font!
Regular front of the school shirt (not from the vinyl.)